CO2 laser cutting machines are among the most widely used CNC machines in industries such as advertising signage, woodworking, acrylic, leather processing, packaging, and craft manufacturing. These machines are capable of producing extremely precise cuts and detailed engravings on a wide range of non-metal materials.
However, many beginners encounter problems when using a CO2 laser cutting machine for the first time. Improper installation, incorrect parameter settings, or poor maintenance can lead to weak cutting power, burnt edges, or even machine damage.
This comprehensive guide explains how to use a CO2 laser cutter step by step, including installation, configuration, operation, safety, and maintenance. Even if you are completely new to laser machines, this guide will help you understand the entire workflow clearly.
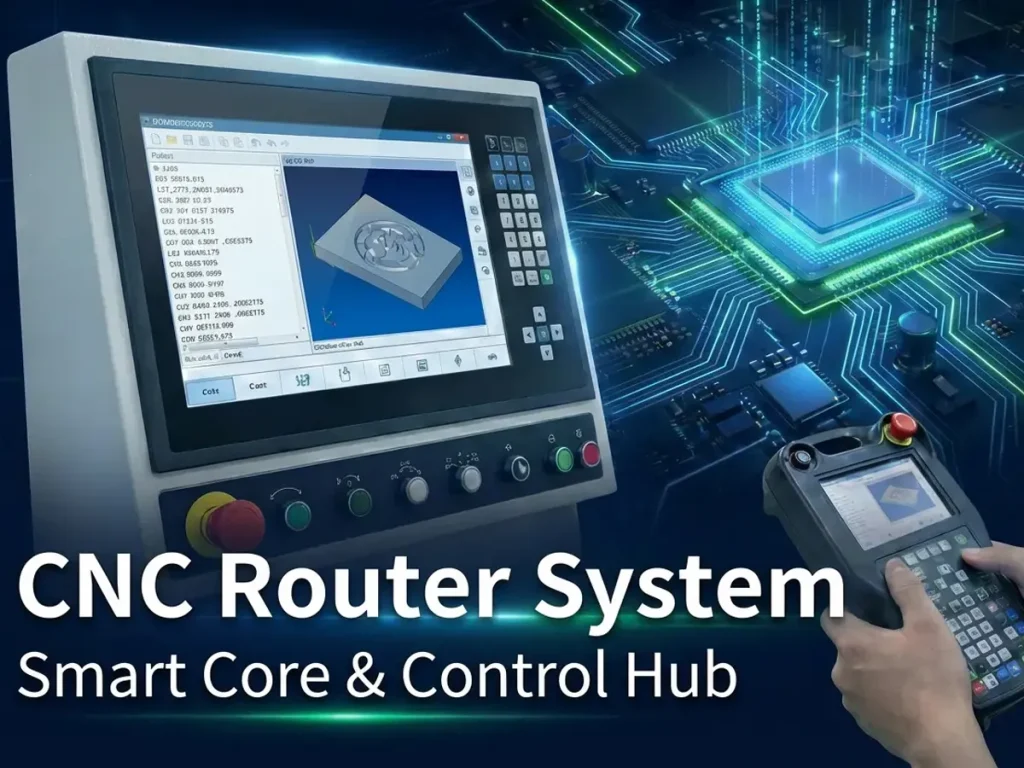
I. Understanding the Working Principle of CO2 Laser Cutting Machines
Before operating the machine, it is important to understand the basic working principle.
A CO2 laser cutting machine uses a sealed glass laser tube filled with carbon dioxide gas to generate an infrared laser beam. The laser beam is transmitted through a system of mirrors and focused through a lens onto the material surface. The concentrated energy heats the material rapidly, causing it to melt, burn, or vaporize, resulting in precise cutting or engraving.
Typical specifications for industrial-grade CO2 laser cutting machines include:
Laser power: 40W–600W
Common working area: 400mm × 400mm-1500mm × 3000mm
Engraving speed: Up to 60,000 mm/min
Cutting speed: Up to 10,000 mm/min
Supported file formats: JPG, JPEG, PLT, DST, PLT, BMP, DXF, AI
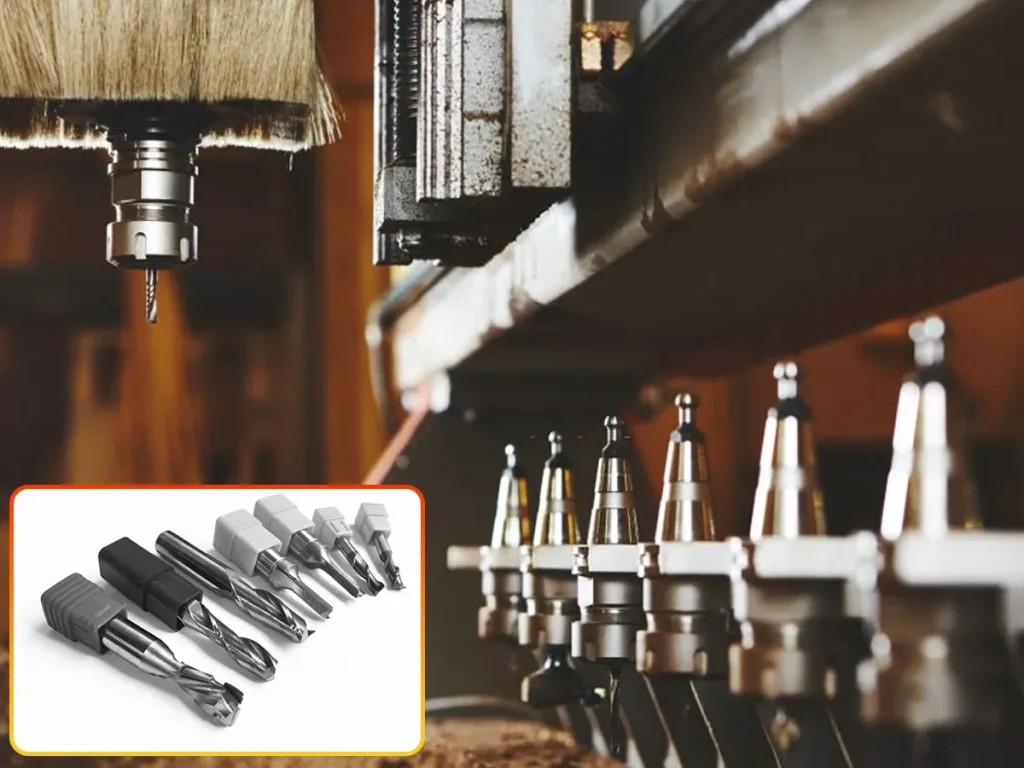
CO2 laser cutters are primarily used for processing non-metallic materials such as:
- Wood and plywood
- Acrylic and plexiglass
- Leather and textiles
- Rubber sheets
- Paper and cardboard
- Medium-density fiberboard (MDF)